If you’ve been in the homeschooling world for more than five minutes, you’ve probably heard the phrase “unit studies” thrown around. But if the thought of building an entire custom curriculum from scratch feels overwhelming, or if you are stuck in a rigid textbook rut that is draining the joy out of your school days, I have some exciting news for you.
Today, we are breaking down exactly why unit studies are so powerful, how you can easily design your own, and some brand-new tools (both physical and free printables!) to help you do it.
1. The Magic of Unit Study Learning (Even as a Supplement!)
A unit study takes a single, fascinating topic and weaves multiple subjects like history, science, language arts, and art naturally around it.
The biggest benefit? Deep engagement. When children get to dive headfirst into a topic they actually care about, learning stops feeling like a chore. They aren’t just memorizing disjointed facts for a Friday test; they are making meaningful connections across subjects.
Pro-Tip: You don’t have to completely abandon your current curriculum to enjoy this! Unit studies make the perfect supplement. You can take a week-long break between textbook chapters to do a deep dive into a seasonal topic, or use a mini-unit study on Friday afternoons to add a splash of hands-on excitement to your routine.
2. How to Build Your Study: From Brainstorming to Reflection
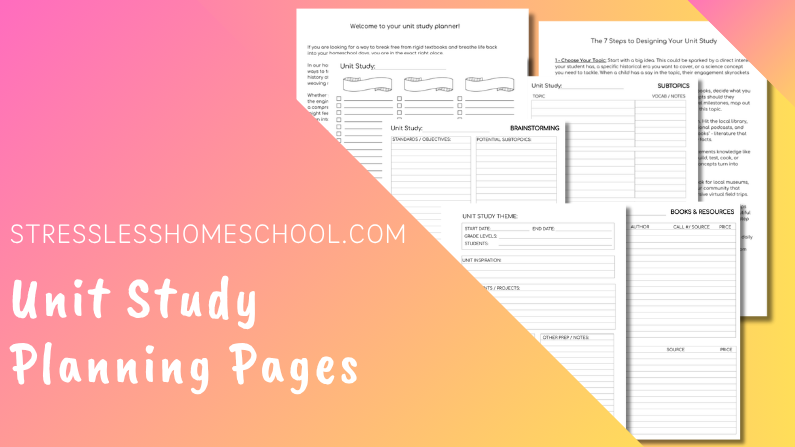
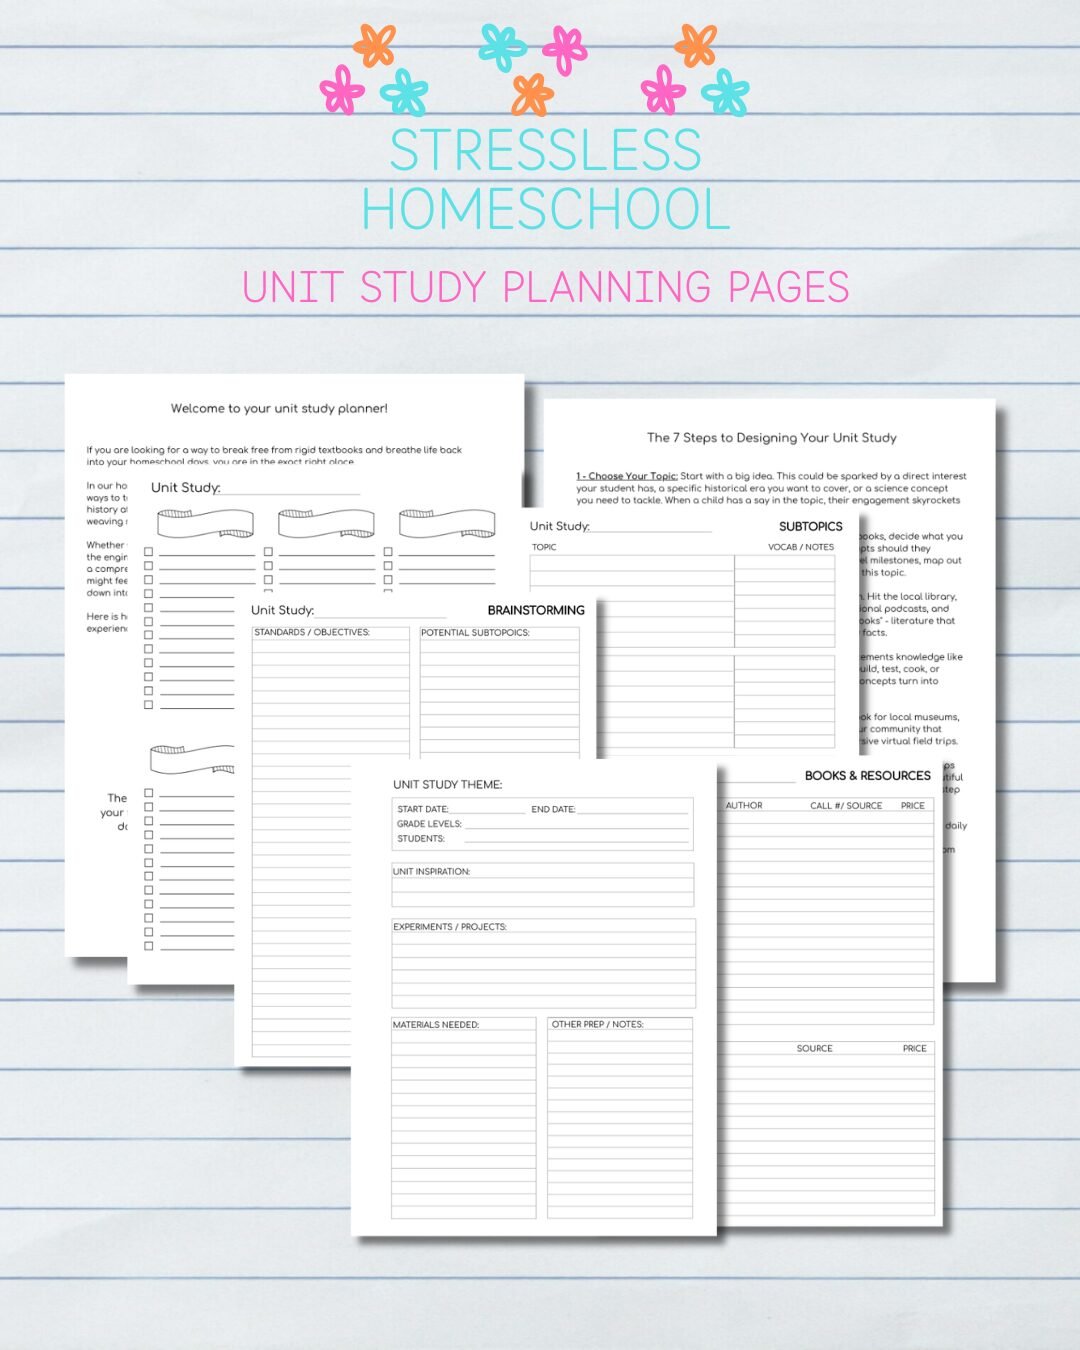
To make planning stress-free, I break the process down into a simple, structured workflow using a dedicated 8-page system. Here is a quick look at how to easily build your next unit:
Brainstorm & Target: Start by dumping all your big ideas onto paper. Once you have a theme, decide on your core learning objectives. What do you actually want your student to walk away with?
Source & Align: Gather library books, documentaries, podcasts, and games. If a book doesn’t serve a goal, save it for free reading! This keeps your study lean and purposeful.
Hands-on & Field Trips: Map out your tactile experiments, cooking projects, and local field trips. This is where abstract concepts turn into real-world understanding.
Daily Flow & Reflection: Lay your resources out into a flexible daily schedule. At the end of the unit, use the Review & Reflection page to log completed books, track achievements, and let your child note what they loved most.
3. Prefer a Bound Book? Find it on Amazon!
If you love the feeling of a physical notebook in your hands, I am thrilled to share that The Homeschool Unit Study Planner is officially published and available on Amazon!
This physical edition is perfect for parents who want a beautiful, durable archive of their school year. It features all of our brainstorming tools, the full how-to guide, and enough duplicated 8-page bundles to plan, track, and record 15 complete unit studies. When the year is over, it doubles as an official portfolio and a gorgeous keepsake of everything your family accomplished.
4. Print-Your-Own for Free (or Donation) via Ko-Fi!
I know that every homeschool budget looks different, and I want these tools to be accessible to absolutely everyone. If you prefer a loose-leaf system, want to plug pages into a 3-ring binder, or just want to try a single unit before committing to a full book, I’ve got you covered.
I have made a digital, printable version of the entire planning template pack available on my Ko-Fi page.
You can download it for free (just enter $0 at checkout), or choose to leave a small donation if you find the resource helpful. Your generous support helps me keep creating free tools, guides, and resources for our amazing community!
We used Disney’s Imagineering DVDs from our library to get ready for our trip. The 11-video series covers a ton of information in a fun, interactive way. It was funny listening to the kids as we went through the park, “Remember when Asa (the DVD host) did that?”
The series includes:
Energy
Fluids
Newton’s 3 Laws of Motion
Gravity
Friction
Magnetism
Electricity
Levers & Pulleys
Trajectory
Design & Models
Animal Adaptations: Communication
Each DVD includes instructions for a try-it-yourself, interactive activity to reinforce the science principles in the video!
I highly recommend incorporating this series into your pre-trip homeschooling! A science teacher has archived 5 of the videos on her YouTube channel (as of June 2026).
I found the entire series available at my local library. Some of the DVDs are also available on Amazon or Ebay.
My kids are HUGE fans of Wild Kratts. I’m pretty sure they have seen every episode, most more than once. When I heard there would be four new episodes all about reptiles this week it seemed perfect for a reptile unit study. I had to work Monday and a bit on Tuesday, a public speaking assignment to prepare and present on Thursday, and a gluten free lasagna to cook and deliver for a volunteer lunch on Friday. It was a bit of a busy week but we managed to get a good deal of fun and learning done.
Monday – Work day for me. No school / free reading.
Draw a rattlesnake using a shape pattern on the skin
Library to pick up books
Wednesday
**”What is a reptile?” – non fiction reading & comprehension passage – updated KWL sheets
Snake trail addition and subtraction math game – Mark alternating spaces with + and – signs, shuffle a stack of playing cards with face cards removed. Each child receives a die, dry erase board and marker, and game marker. Student rolls the die and moves the appropriate number of spaces. They draw 2 cards from the pile and write the problem & solution on their board using the operation they landed on. Continue until board is full. Fast finishers can go back and reverse the operation for extra practice. – Note: The original printable from Scholastic is no longer available. A slightly blurry version is available at the link.
Wild Kratts episode “Gila Monster Under My House”
Spike the Mixed Up Monster by Susan Hood (fiction book – Spanish vocab)
Friday **”Alligator” and “Crocodile” – non fiction reading & comprehension passages
**Alligator and Crocodile Venn diagram (compare contrast)
Wild Kratts episode “Mom of a Croc”
Reptile exhibit at Knoxville Zoo
Zoo journals – sketches of snakes at zoo & writing prompt “If I worked at the zoo…”
Niagara Falls A couple of fiction books from the library to go along with our unit. We’ll use the Power of Speech worksheet from this TPT freebie to discuss why authors use certain dialogue for their characters and what character traits we can infer from their speech.
Also no longer available and I can’t find a good replacement for the same skill. But you could work on any skill with your available fiction books or just discuss the power of dialogue on characterization.
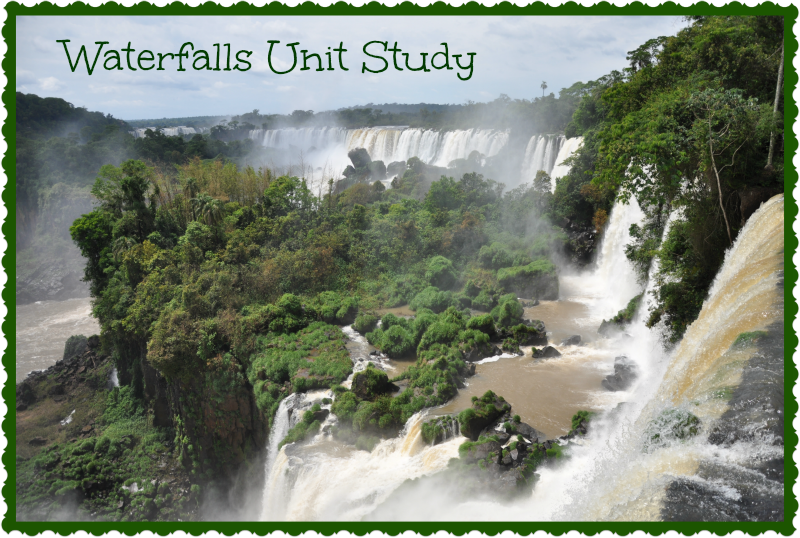
We’ll take a virtual field trip to Niagara Falls and a few local waterfalls via Google Earth and write about it afterward.
Hydroelectricity
A great library book – How Does a Waterfall become Electricity? – will be the basis for our science portion of this unit. We’ll use a portion of the non-fiction text to identify the main idea and supporting details of a passage/chapter.
Norris Dam State Park is about 30 minutes north of us. As we were finishing up our lesson on Thursday the news reported that the Dam would be spilling water to lower lake levels. It was such a perfect fit that we took a picnic lunch and headed out the next morning. We stopped at three different observation points and took pictures and got a real feel of the power of the water. The kids saw the size of the powerhouse and the transformers, just like we had read about! While there were quite a few spectators at the dam viewing sites, our picnic area was empty and beautiful! We also visited the Old Grist Mill, watching how the water moved the wheel and then going inside to see the gears moving. The Lenoir Museum was also interesting and educational. The kids enjoyed seeing, touching and even using some the of the tools used “a long, long time ago”, as the kids put it. Here are some pictures from our trip!
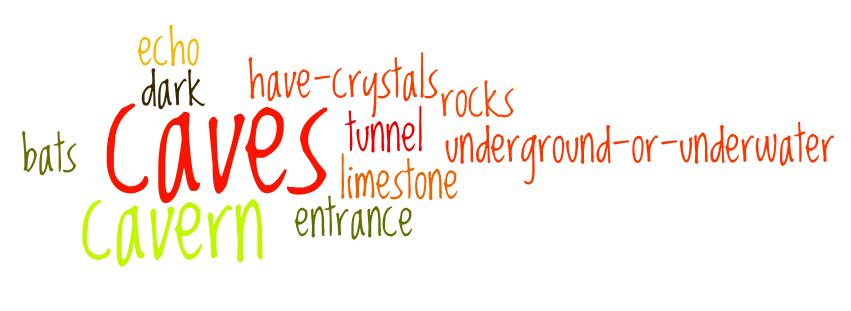
In preparation for our field trip to The Lost Sea this week we’re studying all about caves! First up was a “what do we know about caves?” brainstorming activity. Brainstorming is not a very popular activity around here for some reason. It seems to go much smoother when we use www.wordle.net and I do the typing of the ideas. Then we tinkered with the design of our wordle until everyone liked it and came up with the image above. (Our wordle is saved online here.)
Our main text for this Caves Unit Study is from the USGS and is designed for grades K-3 (get it here). It’s a tremendous resource and the story is very engaging for my kids who love reading adventures and mysteries. It is very text-heavy so I transferred the pdfs to my iPad and am reading them to the kids. At certain points I’ll stop and ask them to predict what might happen next. We covered lessons 1 & 2 on the first day, using some, but not all, of the suggested follow-up activities. We created a 3-part foldable to remember the differences between troglobites, trogloxenes, and troglophiles. We also started decorating lapbooks for the unit.
Day 2 I have planned to help my mom around her house so I’ve got some independent work for the kids lined up for after we read lesson 3 together. Today is all about bats! After reading the story we’ll practice Spanish directional words together with this little book from TPT. Then we’ll review what we learned yesterday about water creating caves through erosion with this fun activity using sugar cubes and clay. (Original link no longer working. This activity from the American Chemical Society is very similar to what we did.)
EDIT 5-1-13 – We actually changed this experiment up a bit. I demoed wrapping the sugar in the clay and each of the kids then made their own, so we ended up with 3 “caves”. We applied water to the sugar in different ways to see how different conditions would affect the rate of erosion. Cave 1 was placed in a shallow bowl of water to simulate a cave lake. Cave 2 was misted with water to simulate slow erosion from rain water. Cave 3 had water poured directly onto the sugar to simulate a continuous flowing river.
For independent work I’ve printed out copies of the non-fiction selection “Joni Adapts to the Dark” from the USGS lesson 3 pdf and a non-fiction response page from this packet. I’ve also printed the poetry strips for this cute little bat poem, a bat can-have-are foldable & question sheet, and this In the Cave subtraction activity they can do together (with Skittles!) Day 3 will be our field trip to the Lost Sea! Lesson 4 deals with stalactites and stalagmites. We’ll try this experiment from TLC’s How Stuff Works to create our own versions. We’ll also talk about cave preservation and why caves are important and do a writing activity about our field trip. Lesson 5 talks about cave paintings, which goes really well with the Native American studies we did last week & the first part of this week. We’ll look at images of cave paintings and then create our own “cave” paintings on the huge rocks in our backyard using chalk and inspiration from the symbol worksheets here.
Today was a migraine day & part of our more relaxed “Spring Break” week. Since I didn’t feel up to heading out anywhere fun with the kids today we started out the day with a movie – Despicable Me. That inspired a day’s lesson on the moon. I’m sure we’ll add more to our study of the moon when we start an in depth space unit later (I scored a massive reproducible space workbook at a consignment sale for $3), but here’s what we considered today.
We went on a virtual field trip to the moon using Google Earth. We use Google Earth a lot when doing geography and the kids love the feeling of walking or controlling a rover on the moon.
 If you’ve been in the homeschooling world for more than five minutes, you’ve probably heard the phrase “unit studies” thrown around. But if the thought of building an entire custom curriculum from scratch feels overwhelming, or if you are stuck in a rigid textbook rut that is draining the joy out of your school days, I have some exciting news for you.